

Annotation
The tutorial consists of 2 parts. The first part sets forth a theory with detailed explanations of design principles, examples and exercises to study various techniques.
The second part, the workshop, consists of 28 designs for processing and recreating. The manual is designed to study the principles of book cover design «from scratch». Partly the attention is paid to illustration.
After completing the full course of this tutorial, you will be able to make any design you are interested in: the cover of a children’s book, a collection of poems, fiction, educational and other literature.
From the author
This tutorial can be used as a self-learning manual. If you need additional consultations or classes, you may contact me. Consultations / classes in person and via Skype are possible.
Individual orders for cover design and book illustration are accepted.
My contact details
Tel 8 925 184 37 07
Skype: oliva-morales
E-mail: oliva-morales@mail.ru
Website:
Respectfully,
Tatiana Oliva Morales
Introduction
It so happened that I became a writer. I write different things — textbooks, prose, sometimes poetry, and, of course, books for children. And, as you know, this is a special kind of literature that requires high-quality content, including a bright and beautiful cover, as well as illustrations.
While I was writing only textbooks, I did not think about any special cover design. Sure, it was important for me. I wanted the cover to be attractive, recognizable, especially since, as a rule, I never write one single textbook, but do them in series.
So, when I realized that I had accumulated material in my computer from which I could get about a hundred educational children’s books, the issue of their covers design and illustrations came up very sharply.
I did not want to entrust both of those processes to anyone else. I perfectly understood that no one except me knew and felt the content of those books better, and therefore he would not complete the design of the covers and illustrations the way I could make.
Despite the fact that I have an art education, and I still draw when I find inspiration, I do it exclusively on canvas or an album sheet — I don’t know how to draw on a computer.
Therefore, I was faced with the task of either learning how to draw on a computer or understanding how the designers work in graphic editors.
I began to google, and after some time I googled the information about the graphic editor on the Canva website. The reviews about it were not bad, so I registered there and began to study the program. It took several days, but my work was not in vain.
After some time, I realized that working on Canva is about as easy as using a Word text editor. Very quickly I filled my hand. I began to make covers and illustrations. Although, of course, each cover was made painstakingly, since I am extremely responsible for the process of its creation, and every detail is important to me.
So on Canva it turned out that you didn’t need to be able to draw on a computer in order to create covers and illustrations, although the art education was very useful to me there.
But I can tell you exactly that you can completely do without having such an education, if you have a taste, a sense of harmony of colors and composition.
Part 1. Theory and practice of cover design and illustrations
Lesson 1. How the graphical editor works (on the example of the Canva site)
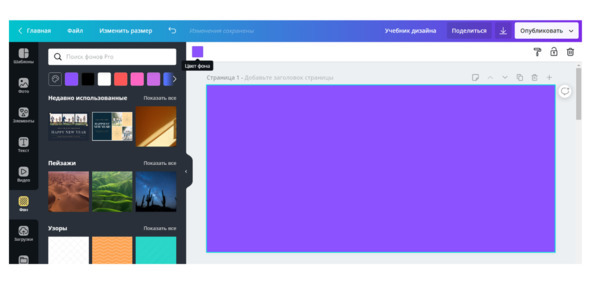
In the graphics editor you have a blank white page in front of you. You can set its size (it changes in pixels, millimeters, centimeters and inches). Here you can also select elements for composition from the Canva data bank. It looks like this.
The background color (of the same white page) can also be changed in different ways. You can use the color palette (it is at the top left), you can select a background from the Canva data bank (the window on the left, Background tab) or load your own one (the window on the left, Download tab).
You can work on Canva for free, but then the possibilities will be pretty limited, and you can pay a fee for a month (or for a longer period of time, see Tariff plans), then you will have all the tools to create interesting designs. The monthly maintenance costs about 10 US dollars.
As for the elements that you need to place on the cover — they all change in size, move and rotate, if necessary. Some of them can change color.
All this can be made with the mouse cursor — hold the object with the left mouse button and then move it wherever you want. Using the same cursor, you can change the size of the object. If a color change is available for an object, you will see a palette on the top panel when you click on this object.
The complete picture of how this graphic editor works can be obtained by watching video tutorials at this link
https://www.youtube.com/watch?v=WL-WbHwsbs8
Although personally I chose to go to the rest myself.
Therefore, I further propose to consider the basic functions of Canva by examples and exercises.
At this stage, you need to register on the Canva website https://www.canva.com/ and create an account, all this is completely free.
Lesson 2. Uploading Images and Downloading Designs
To download an image, use the Downloads tab in the left panel, see the screenshot.

In order to move any downloaded image to the background, click on it 1 time.
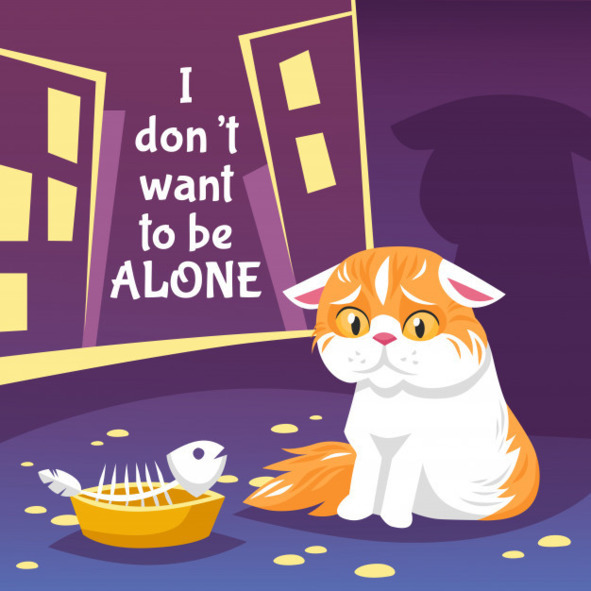
Exercise 1
Save this image on your computer in jpg. or png. format, upload it to Canva and move it to the background.

It should be something like this.
Exercise 2
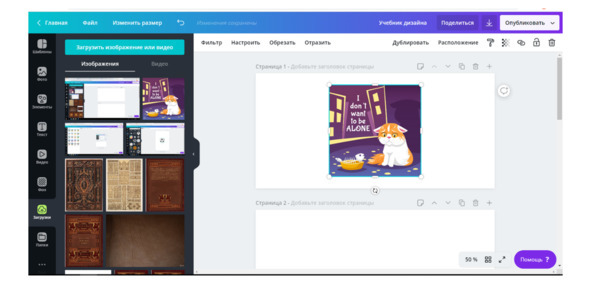
Save and download this page.
To save the page, go to the File tab on the top panel, then click on the Save tab.
To download this page (page 1), go to the tab on which the down arrow is drawn (on the top panel on the right), click on it, select page 1 from the drop-down list, check it, click Finish, click Save.
If everything is done correctly, the download of the design will begin. When it is ready, you will see a pop-up window with the inscription Design published, see the screenshot.
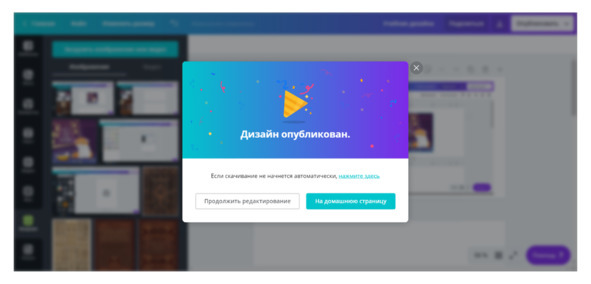
You’ll find this design in Downloads on your computer.
Lesson 3. Resizing an image
The image size can be changed in the graphical editor on the Canva website. If you need to resize the background (the cover itself or the illustration), click on the top panel on the Resize tab, then on the Custom Sizes tab, set the desired values.
Exercise 3
Set the following sizes for the image below:
200 mm x 300 mm
40 cm x 60 cm
16 inch x 23 inch
12500 pixels x 1950 pixels
Almost always, when creating the next design on the Canva website, you have to adjust the sizes of its various parts — change their size, location, and sometimes change tone or color.
In order to start working with any design detail, click on it. Next you will see its borders. You can control the size of the image without changing its scale using the cursor.
The action algorithm is simple — click on the picture, hold down the left mouse button on the image, move the cursor to any of its angles (a small white ball in the center of the corner).
Next, move the cursor forward or backward, depending on what size you need, larger or smaller. See the screenshot.
To delete an unnecessary picture, you need to click on it, and then press the Delete key on the keyboard of your computer.
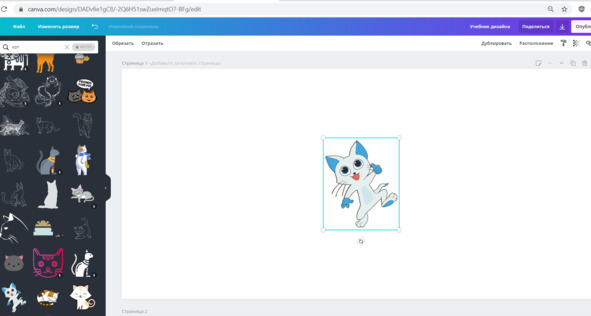
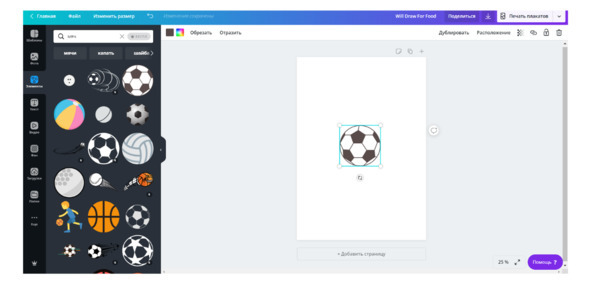
Exercise 4
Make an element called the ball about twice as large.
To do this, go to the window on the left, in the Elements tab, enter the request Ball in the search string at the top, select any one. In order to move the selected ball to your background, click on it once.
Exercise 5
Make an element called the ball about half as small.
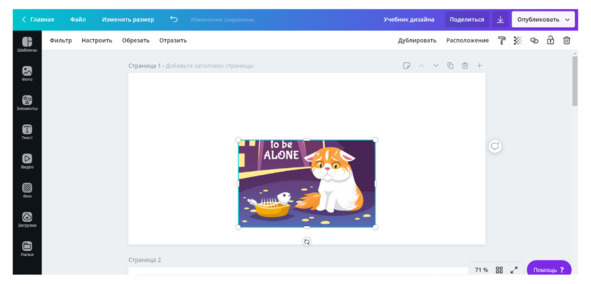
You can also change the scale or borders of any image. In order to see how this is made, I suggest returning to our lonely cat, see the screenshot.

If you click on this image, you will see that its borders are different from the borders of the ball image — in addition to the balls in the corners of the object, there are four notches along the perimeter on it.
This means that we can not only change the size of the image without changing its scale, but also change the borders of the image.
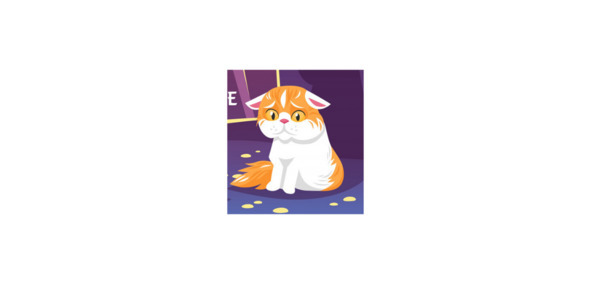
You can collapse the picture a bit. To make this, use the same notches around the perimeter.
Exercise 6
Click on the image to see the borders. Hold it with the left mouse button or touchpad. Hover the cursor over the notch and slide the border, for example, down, as I will make now, see the screenshot.
Exercise 7
Now I propose to give the image a square shape, moving the rest of the borders a little. And also let's put the picture in the center of the page.
To make this, click on it, hold down the left mouse button or touchpad (I work on a laptop, in my case it is a touchpad) and start shifting to the center. When the picture is centered, the editor will show you the intersection of the red lines in the shape of the cross.
It should look something like this, see the screenshot.
Lesson 4. Changing tone and color of the image, moving around the background
For some images on Canva, there is a convenient function for changing the color tone of the image, which often eliminates the next trip to Photoshop. The function is called Filter, and is located on the top panel, see the screenshot.
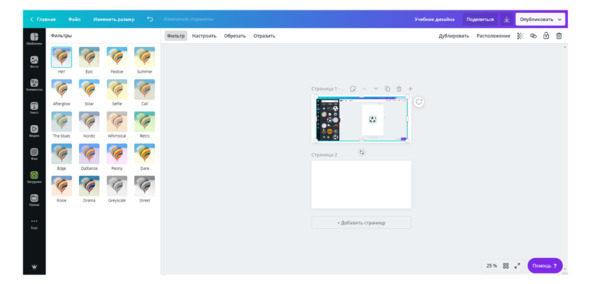
To use it, click on the picture, click the Filter tab, click one by one on the colors of the palette on the left, select the desired tone.
If you make a mistake, don’t worry, you can always roll back all actions by clicking on the topmost button in the left corner of the palette called No or on the arrow pointing up and to the left on the top panel.
Exercise 8
Download the image to your computer in jpg or png format. Upload it to Canva. Change the overall tone of the picture by picking the one you like. if you don’t like anything, return the image to its original state.
Canva also allows you to adjust the transparency of the background image. You can do this using the Transparency tab on the top panel, on which gray and black checkers are drawn. In order for it to appear, click on the image.
Exercise 9
Download the image to your computer in jpg. or png. format. Upload it to Canva. Adjust the transparency of this image.
Lesson 5. Working with the background
The background can be changed during the design process, it is very convenient. In order to change the background, you need to click on it, and then select the color you need from the palette, which is located on the top panel.
You can also search the backgrounds in the Background tab, which is located on the left, see the screenshot.
Some interesting backgrounds can be found on stock image exchanges or just on the Internet, in Google or Yandex. For example, type a search phrase Red lacquered wood background. And you will receive a lot of various options.
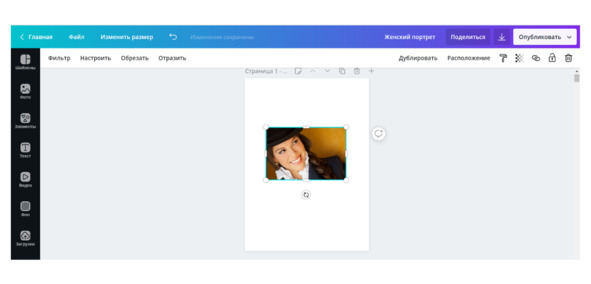
You can go in a more unconventional way. I have got a book, it had a difficulty with the background of the cover — it did not deal in any way. As a result, I made a background from the hat of the model that is on the cover, see the screenshot.
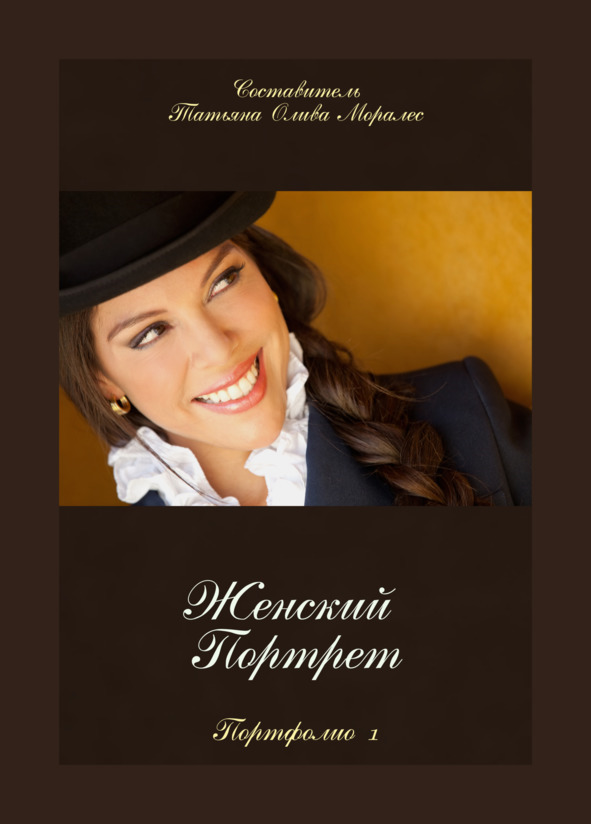
It’s not technically difficult to make this — you need to take the square of color you are interested in from the picture, in this case I was interested in the dark brown color on the hat margins, and then stretch this square to the desired size, in my case to the whole page, see the screenshots in the exercises below.
Exercise 10
Step 1. Place the image on the page (you can use the previous screenshot).
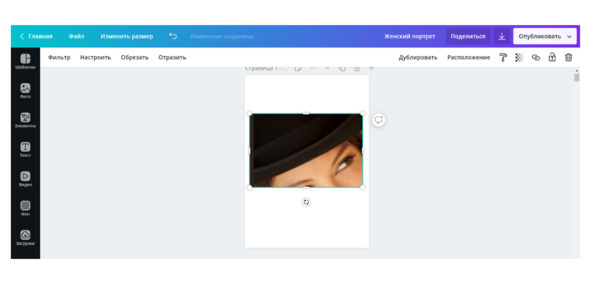
Step 2. Reduce its borders on selecting the desired color fragment, and enlarge it again.
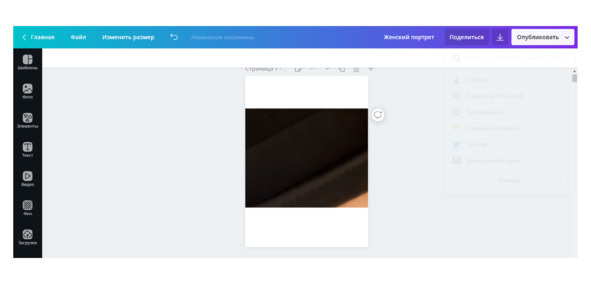
Step 3. Reduce the borders even more by repeating the actions of Step 2.
Step 4. Reduce the borders even more by repeating the actions of Step 2. Stretch the selected fragment to the entire page.
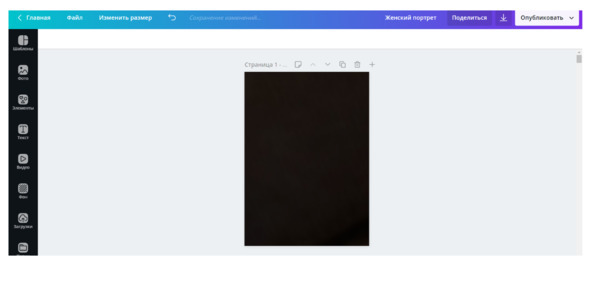
The background is ready.
Exercise 11
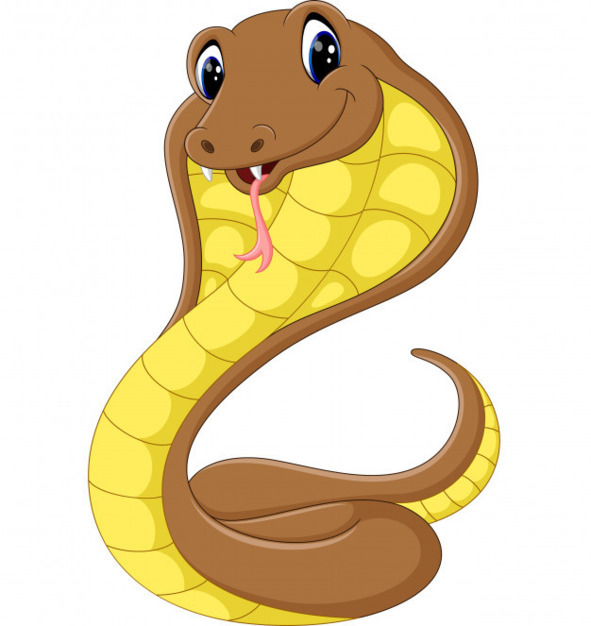
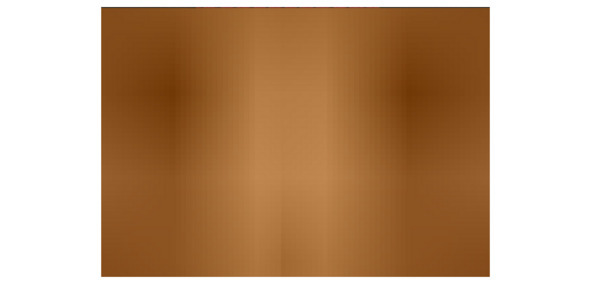
Get to know these are my talismans, ancient Greek Winged Cats.
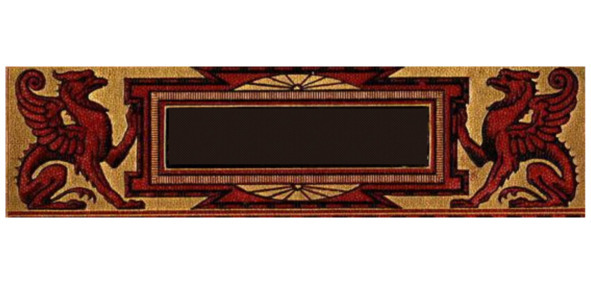
Create a golden hue background from a fragment of this image. It might make really interesting, as an option, like this, see the screenshot.
Бесплатный фрагмент закончился.
Купите книгу, чтобы продолжить чтение.